How to protect your polished concrete floors
Polished concrete flooring is an increasingly popular flooring choice because it is both beautiful and durable. Polished concrete is also versatile, it works well indoors and outdoors, in residential and commercial properties alike. Choosing to install a polished concrete floor is a smart and easy choice, but how do you maintain it once you have it?
Find out everything you need to know about polished concrete floor below!
Here are the steps involved in installing a polished concrete floor
At Grind and Seal, we don’t supply the mix nor do we pour the concrete, our sole focus is polishing concrete. But, if you’re interested in knowing the process of installing a polished concrete floor for your new build or renovation, here are the steps involved from start to finish:
Step 1 – Preparation

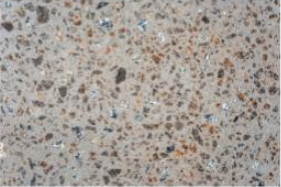
Polished concrete with decorative aggregate
If you are building a new home, you’ll need to plan for polished concrete in the preliminary stages. If you wish to see the decorative aggregate, you’ll need to tell your builder to use 32mpa concrete. If you prefer an industrial look floor, where you see very little to no aggregate, you’ll need 40mpa or 50mpa concrete. Building a new home gives you the opportunity to plan for the best polished concrete finish possible.
But what ff you’re planning to renovate and you have a different flooring, such as tiles? The good news is that many floors are concrete underneath. It’s highly likely you will be able to use the existing concrete beneath your tiles, carpet, timber floor boards, or vinyl. This involves having the existing covering removed, then we can come in to assess your existing concrete’s condition. We regularly polish old and existing concrete after the previous floor has been removed.

Polished concrete with no aggregate
If however there is no concrete underneath your floor, you can choose to have a new topping slab poured. As we don’t handle pouring the concrete, you’ll need to call in some experts to assess the viability of this option. If an expert gives you the all-clear, the excavation can begin! Different concrete contractors may use different techniques, but basically your current floor will be removed, concrete formwork will be installed, a layer of sand will probably be poured to keep out moisture, and a plastic sheet laid on top. There will be a couple layers of sand and plastic topped off with wire mesh. With the mesh in place, the pouring can begin.
Step 2 – Pouring
A high level of care needs to be taken when pouring the concrete. The concreter will make sure the correct amount is poured so your floor will remain the same height as it was before, and they will use a float to ensure it’s completely level. It generally takes 28 days for the slab to cure enough to mechanically polish, regardless of its size.
Step 3 – Polishing
Once the concrete has cured enough, we can get to polishing! This is done with powerful machines weighing almost ½ tonne.
The first step is to diamond concrete grind the concrete surface to remove residual tile mortar or glues, and begin to expose the aggregate. The machines have a number of horizontal, rotating discs, or plates. Each of these plates has industrial grit metal bonded diamonds embedded to grind into concrete, which gives you a decorative look.
There are many processes involved to turn a floor into mechanically processed concrete, anywhere from 10 to approximately 20 steps needing to be followed – another reason why polishing must be done by a professional!
Once the polishing is complete, the floor will need to be carefully cleaned as the surface must be completely free of all loose particles and debris before we seal the concrete.
Step 4 – Sealing
Sealing the floor is an important step as the sealer is the first layer of defence against stains for years to come. This last step must be done carefully to ensure the sealer is evenly applied.
Step 5 – Drying
The floor should be fairly quick to dry once it is sealed – only around 30 minutes! Keeping Melbourne’s weather in mind, factors such as moisture, concrete temperature and air flow may add another ½ hour to the process, but even this is extremely minimal time to cure a floor. Once dry, your polished concrete floor will be good to go.

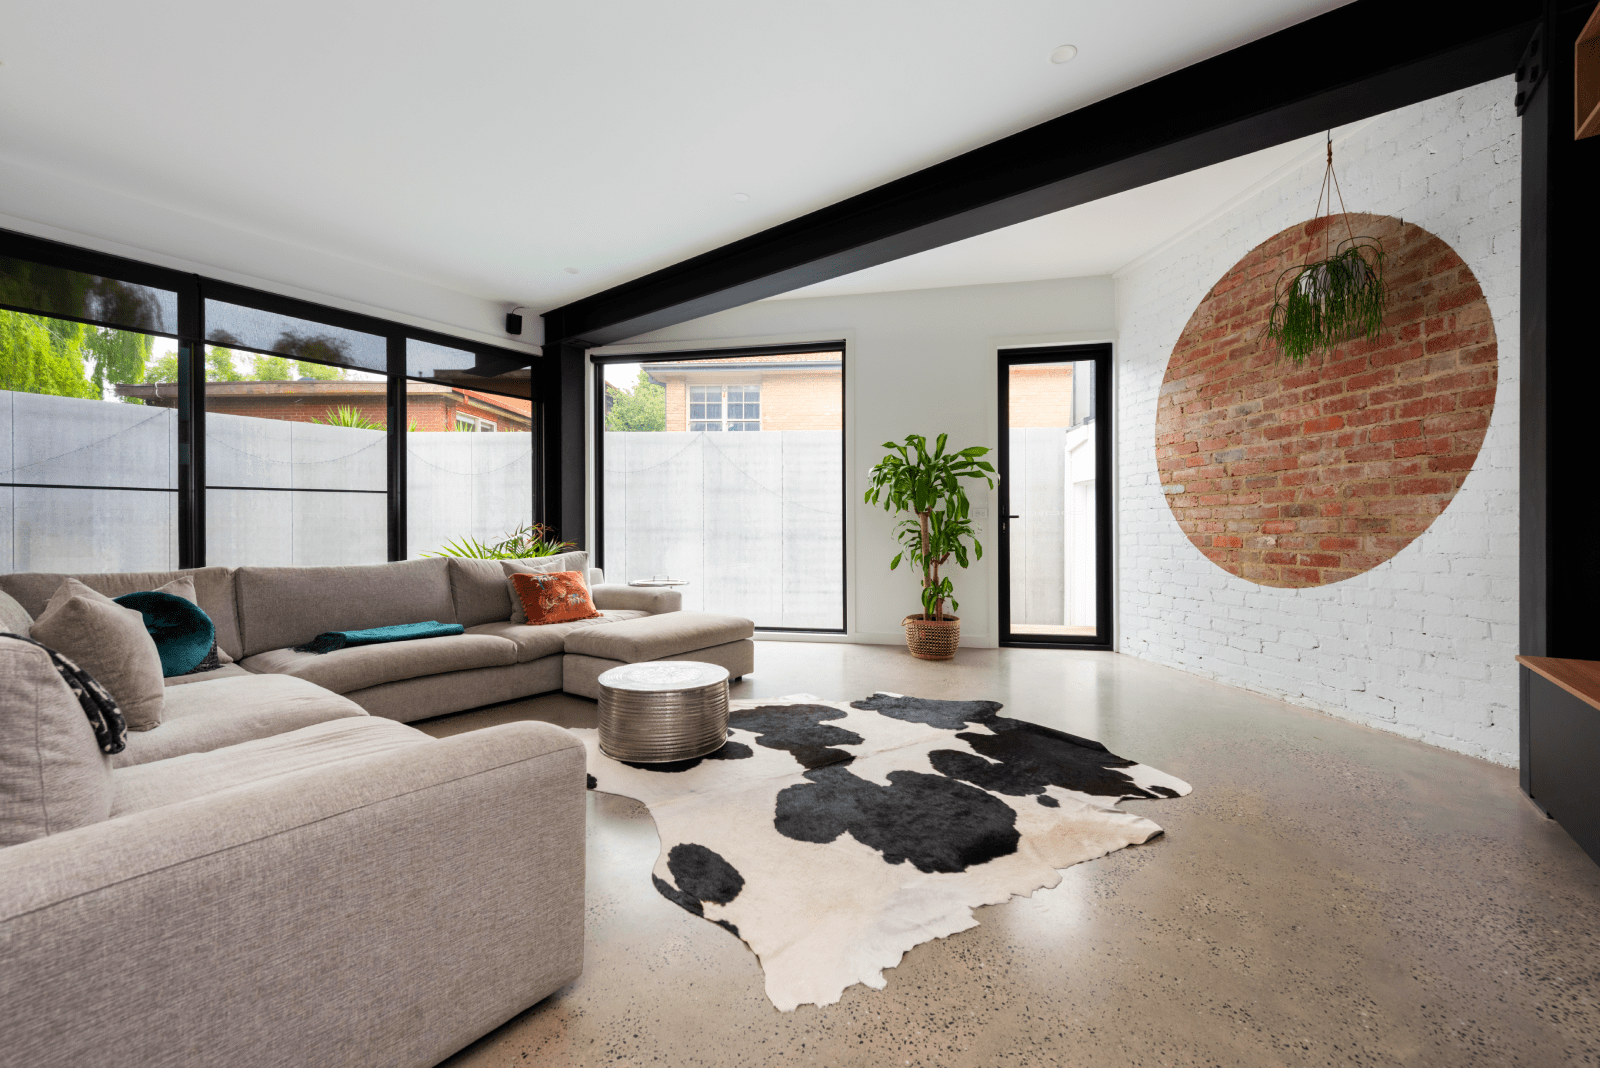
Once complete, polished concrete looks stunning
Polished Concrete Floor Benefits
Polished concrete floors come with a swathe of benefits that you simply cannot get from other types of flooring. These benefits include:
- Durability: Polished concrete is very durable, much more durable than more traditional flooring options like floorboards and carpet. While floorboards will get scratched due to the sealer being a topical coating, and carpets suffer wear and tear such as embedded particles and fibre breakage, mechanically polished concrete can handle very high foot-traffic and day to day life as it has no topical coating. With basic regular maintenance like sweeping and mopping, it can still look just as good as on the day it was originally completed.
- Lifespan: Polished concrete flooring can outlive you; with very little maintenance and some very basic cleaning instructions, it has by far the longest lifespan of any other flooring material.
- Affordability: Polished concrete flooring is good value for money as you won’t need to spend as much money on maintenance nor will you need to pay to replace it after only a few years as you do carpet and vinyl.
- Low Maintenance: Polished concrete will remain stain free if you wipe up spills as they occur, you need not worry about dirt and grime working its way into cracks, you won’t have to worry about tile grout turning dark, and it’s easy to clean as dust will settle on the poreless surface instead of getting nestled inside the flooring.
- Energy Efficient: Polished concrete works extremely well with radiant floor heating systems, so you won’t have any issue heating your home in Winter. Due to the high thermal mass, its insulation is excellent as it absorbs temperatures and releases them slowly.
Polished concrete is also amazing at keeping your home cool in Summer, so you won’t need to be blasting your air conditioner all day. - No Hazardous Chemicals: Polished concrete doesn’t use hazardous chemicals, so you don’t need to worry about the safety of this flooring choice. It is low VOC throughout the floor polishing work, and is zero VOC after only a few days cure.
- Great for Asthma and Allergy Sufferers: As polished concrete has no areas to harbour allergens such as pollens, dust mites, mould spores or pet hair fibres, it is an extremely hygienic and non-allergenic floor. As you’re probably aware, children love playing on the floor, so this can be a very important factor when planning your family home.

How to protect a polished concrete floor
Although polished concrete floors are very durable, there are still some steps you should take to keep them in peak condition.
1. Cleaning your polished concrete floors
Cleaning polished concrete is very simple, and how you do it will depend on what your preferred cleaning method is. You can sweep, vacuum, or wipe with a dry mop – any of these methods will be sufficient to keep the surface of your polished concrete clean. If the polished concrete is in a high traffic area, you should consider sweeping or vacuuming it every couple of days as grit or sand that gets tracked in can act like fine sandpaper. Use a vacuum head that has brush rolls – these are tough on the dirt and debris but gentle on your floor (as they won’t scrape grit particles against your polished concrete as you vacuum).
After sweeping or vacuuming, you can give your floor a more thorough clean by mopping. A simple microfibre head damp mop is all you need to make your floors look new.
If you spill something on your floor, you should wipe it up quickly. Although polished concrete will not stain easily like a light colour carpet, it will still stain if spills are left to soak in, especially if the liquid spilled has colour like red wine or beetroot juice. Liquids that are too acidic such as citrus juices or vinegar, or too alkaline such as bleach, ammonia, or pet urine can cause staining by eating into the finish if not wiped up quickly.
When buying a cleaning solution for your polished concrete floor, avoid products that are acidic or high alkaline as these can damage your flooring. Look for pH balanced products made for polished concrete. We gift a full complimentary container of pH balanced cleaner to you at the completion of your floor polish.

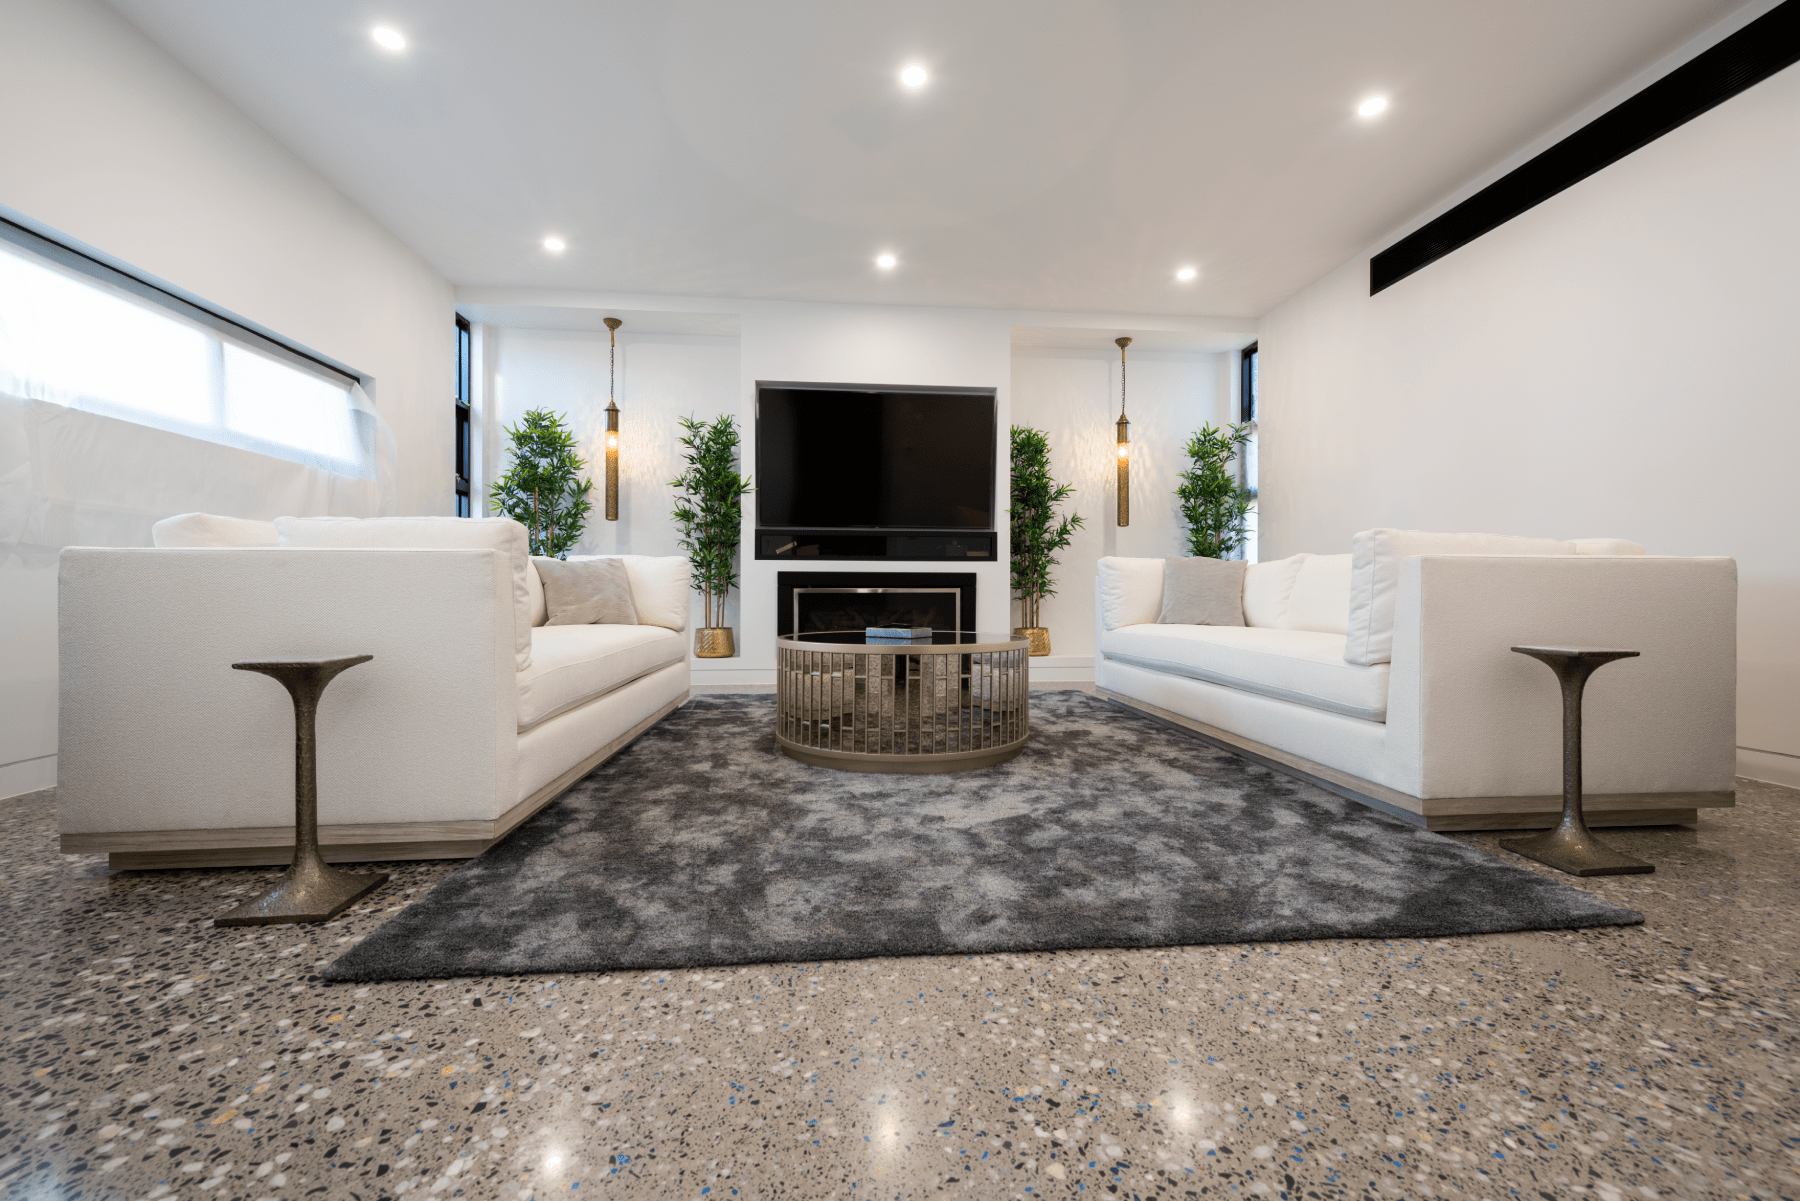
Polished concrete will look fantastic for years with proper maintenance
2. Restoring the shine of your polished concrete floors
Over time, your polished concrete flooring may lose some of its sheen. Refreshing your polished concrete is best only done by a professional who knows what products were used in the creation of your floor and who has the correct equipment to carry out the refresh. The equipment is extremely expensive to both hire or buy and mistakes can mar the finish.
3. Protecting your polished concrete floors during construction
During construction, you need to make sure your floors are protected correctly by your builder. Although polished concrete is very durable,construction often presents many unique challenges, for instance, if a heavy tool with a sharp edge is dropped from a height, or if ceilings are being sprayed that the overspray does not settle onto your floor. Here are some other things that are common on construction sites which can damage your floor:
– Petroleum – this high viscosity substance can stain your floor
– Paint and timber stains – once dried, paint can stain your floor, and timber stain will stain it immediately.
– Acids – these can damage concrete
– Adhesive tapes – the glue ingredients on tape can damage polished surfaces, so never tape anything to the floor
– Paint thinners/paint removers – can damage polished surfaces
To avoid damage, make sure your builder lays Ramboard, (this is a commercial grade breathable cardboard protection) over your floors and cleans up any spills immediately when they occur.
Conclusion
Polished floors are popular with clients across all sectors due to their beauty, durability, and cost-effectiveness, but only when installed by a trusted professional. At Grind and Seal, we are experts with over 20 years of commercial and industrial experience in the fields of concrete grinding, polishing, and sealing.
If you would like to learn more about what polished concrete can do for your business, contact us at Grind and Seal Melbourne for additional information and a free quote.

